If nail polish is used for nail enhancement, it can be dried naturally, but if nail polish glue is used, it must be dried with a baking lamp. The nail polish glue is usually made of resin and can only be dried with a phototherapy machine. The baking time of different nail polish adhesives is generally different. Today, I will give you a scientific introduction to the correct baking time for different gels.
Nail polish has the characteristics of curing in the light, so it is generally packed in an opaque glass bottle and needs to be stored in a dark place.
Removable adhesive primer: used in front of colored adhesive to prevent nails from turning yellow, falling off, and warping, effectively enhancing firmness and lasting time. ( Be sure to polish your nails until there are no reflective spots)
Baking time: 60 seconds for general lighting, and some primers will feel slightly sticky no matter how long the lighting lasts. This is normal and does not need to be wiped. The purpose of the primer is to avoid direct contact between the colored glue and the nail and to enhance the adhesive force of the colored glue. The headlamp can go to the next step directly.
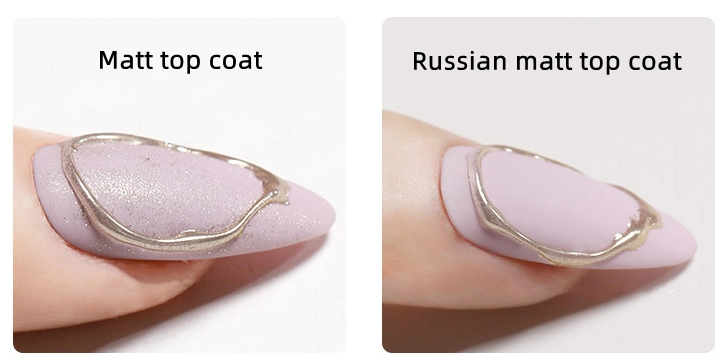
Wash-free seal coat: After the seal coat is dried, there is no floating glue that does not need to be wiped, which can protect the nail polish surface from scratches and increase durability and glossiness.
Baking time: Generally, the sealing glue needs more than 90s for the lamp, at least 90s. Generally, the common seal layer is divided into a scrub seal layer and wash free seal layer. The scrub seal layer needs to be wiped with cleaning cotton after lighting the lamp. If the light is not too long, the floating glue on the surface of the nail enhancement will be dried, which will affect the luster of the nail enhancement.
Reinforcing gell: After the primer or color glue, increase the thickness of nails to prevent thin and soft nails from cracking.
Baking time: The coating shall be thin and uniform. After applying the light for 60s, the basic conditions of Party A can almost be applied twice, and the accumulated time of the light is guaranteed to be no less than 60s.
Long-lasting operation steps of nail enhancement:
1. Apply anti anti-warping agent and dry it naturally without lighting;
2. Increase the firmness of the lamp for 60 seconds;
3. Apply color glue twice, and light the lamps for 60s respectively;
4. Apply reinforcement glue, prevent warping, and protect color, and light for 60 seconds;
5. Apply the seal coat, keep it bright for 40 days, and light for 120 seconds.
The introduction of the correct baking time for novices in this issue is over.